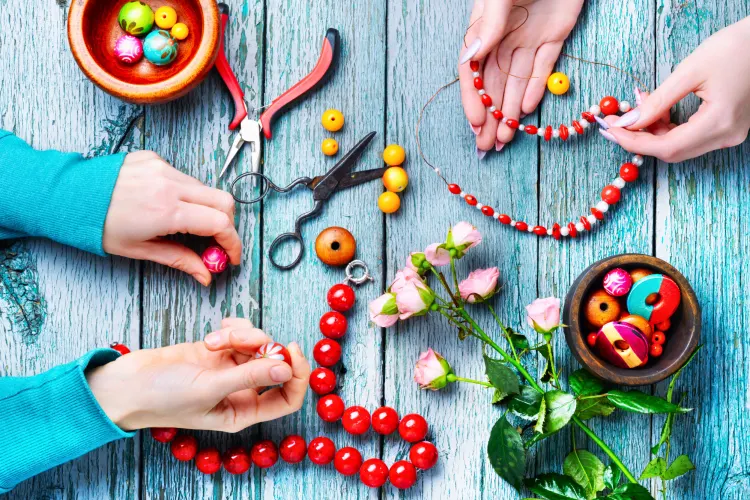
Clay beads are timeless, versatile, and a fun way to create personalized jewelry and accessories. They offer endless design possibilities for both beginners and advanced crafters. In this article, we’ll explore how to make clay beads, the materials needed, the types available, and how to style them for unique, eye-catching creations. Let’s dive into the world of clay beads and unleash your creativity!
What Are Clay Beads?
Clay beads are small, handcrafted pieces made from clay that can be molded, baked, and painted to create beautiful jewelry, charms, and decorative accessories. They’re often used in making necklaces, bracelets, earrings, and keychains, allowing crafters to infuse personal style into each piece.
Benefits of Using Clay Beads
| Benefit | Description |
|---|---|
| Cost-Effective | Clay is affordable, making it easy to produce high-quality jewelry on a budget. |
| Personalization | Clay beads allow for endless customization in colors, shapes, and designs. |
| Durability | With proper care, baked clay beads can be strong and long-lasting. |
| Lightweight | Unlike metal or glass beads, clay beads are lightweight, making them comfortable for daily wear. |
| Eco-Friendly | Many types of clay are environmentally friendly, and polymer clay options can be baked at home, reducing the need for industrial processing. |
Types of Clay for Making Beads
Various types of clay can be used to make clay beads. Here’s a quick comparison:
| Type of Clay | Description | Best For |
|---|---|---|
| Polymer Clay | Oven-baked, soft, and easy to shape | Beginner-friendly, intricate designs, bright colors, small to medium-sized beads |
| Air-Dry Clay | Hardens in air without baking | Larger beads, outdoor projects, minimal tools needed |
| Ceramic Clay | Needs a kiln for firing | Professional projects, strong and durable beads, traditional jewelry styles |
| Porcelain Clay | Fine, smooth, and often delicate | Elegant, high-end jewelry, fine details |
Step-by-Step Guide to Making Clay Beads
Creating ClayBeads is an enjoyable and rewarding process. Follow these steps to make your own beautiful beads:
1. Gather Your Supplies
You’ll need:
- Clay of choice (polymer, air-dry, or ceramic)
- Rolling pin
- Clay tools (for shaping and detailing)
- Paint (if desired) and paintbrushes
- Toothpicks (for making holes)
- Baking sheet (for polymer clay)
- Sandpaper (for smoothing)
2. Condition the Clay
- Knead the clay until it’s soft and pliable. This will make shaping easier and help prevent cracking.
- Roll out the clay to a uniform thickness using a rolling pin.
3. Shape Your Beads
- Use your fingers or tools to shape the clay into desired forms. Common shapes include round, oval, and cylindrical.
- For unique textures, press objects like leaves, lace, or stamps onto the clay surface.
4. Make Holes in the Beads
- Use a toothpick or pin to create a hole through each bead. This is essential if you plan to string them on a necklace or bracelet.
5. Bake or Dry the Beads
- For polymer clay: Bake in the oven at the temperature recommended on the package (typically 265-275°F) for 15-30 minutes.
- For air-dry clay: Leave the beads to dry for 24-48 hours.
6. Paint and Seal (Optional)
- If you want to add color, use acrylic paints or glaze after the beads have cooled or dried.
- To give a glossy finish, apply a clay sealant to protect the beads from moisture and wear.
Creative Ideas for Using Clay Beads
- Jewelry: Use clay beads to create necklaces, bracelets, and earrings. Combine different shapes and colors for a bohemian or modern look.
- Home Decor: String large clay beads together for unique home decor items like curtain ties or napkin rings.
- Keychains and Charms: Add clay beads to keychains, phone charms, or bag tassels for a personalized touch.
Tips for Working with Clay Beads
- Experiment with colors: Mix different colors of clay to create marble effects or ombre gradients.
- Invest in good tools: Clay tools can help you create intricate designs and smooth finishes.
- Sand after baking: For a polished look, sand your beads gently after baking to remove imperfections.
Frequently Asked Questions (FAQs)
Q: What type of clay is best for beginners?
A: Polymer clay is highly recommended for beginners because it’s easy to work with, doesn’t require a kiln, and comes in various colors.
Q: Can clay beads get wet?
A: It depends on the type of clay. Polymer clay is water-resistant once baked, but air-dry clay beads should be sealed for protection against moisture.
Q: How long does it take to make clay beads?
A: Making ClayBeads can take 1-2 hours, depending on the complexity of your design and the type of clay. Baking or drying times vary.
Q: Can I mix different types of clay?
A: It’s not recommended to mix types like polymer and air-dry clay, as they have different drying and baking processes. However, you can combine different colors within the same type.
Conclusion
Making clay beads is a creative and enjoyable craft that allows you to express your style through custom jewelry and accessories. From choosing the right clay to experimenting with shapes and colors, the possibilities are endless. Whether you’re a beginner or an experienced artist, clay beads offer a unique way to make affordable, durable, and personalized accessories. Happy crafting!


